Design Process 1. Define the problem to be solved. 2. Acquire and assemble pertinant data. 3. Identify solution constraints and criteria 4. Develop alternative solution 5. Select a solution based on analysis of alternatives 6. Communicate the Results | 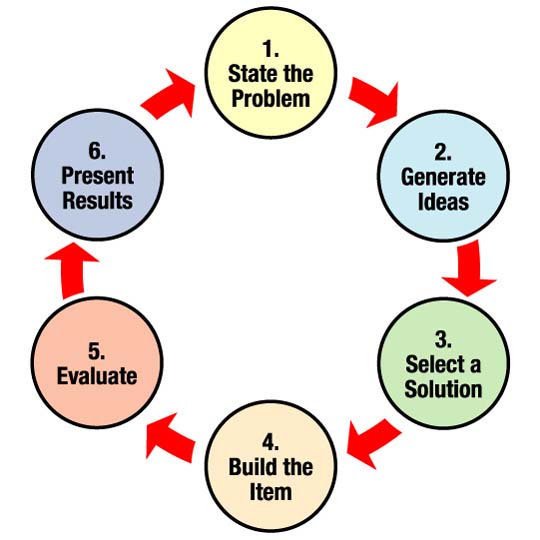 |
Problem
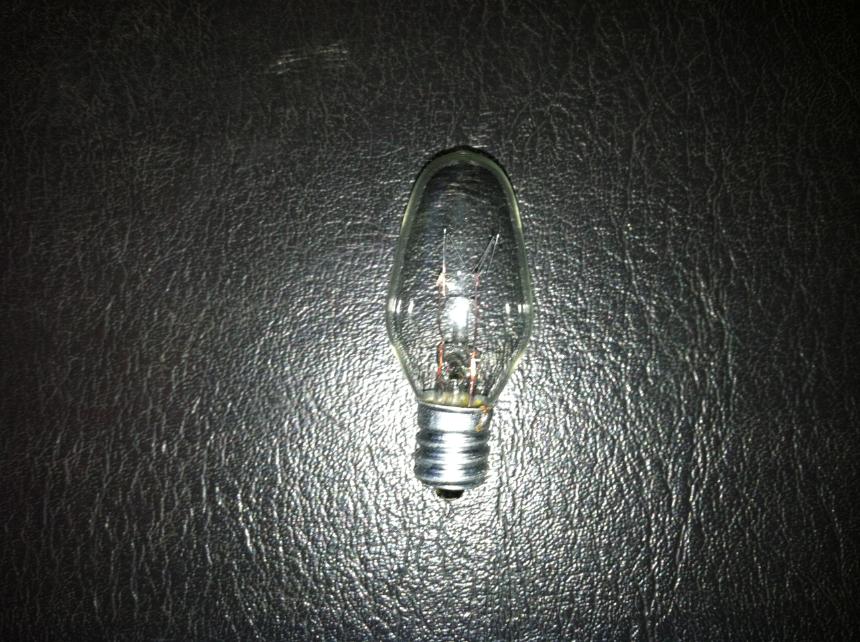
The problem at hand is to improove a glider to fly farther and hold a light payload of a small light bulb.
Acquiring Data
The data we gather was data on how to make a plane fly straighter. A lot of this information came from our assistant teacher who was also working on a type of plane project. The information was how to counter a plane diving down, going up, and traveling left and right. The up and down movement has to deal with the horizantal stabalizer. If the glider dives down, the trailing end of the stabilizer needs to be bent up and opposite if the plane flies up. To help keep the plane from going right and left, we must simply weigh the opposite side that the plane is flying to. If the plane flies right, the left side needs to be weighed down and vice versa. After flying our plane, it consistantly drifted right and would dive down after about 10 feet. We also learned that planes are more stable with vertical stabalizers on the wing called winglets. This is suppose to help lessen the drag of the plane. This is according to http://www.grc.nasa.gov/WWW/k-12/airplane/airplane.html
Constraints
The constraints to this project is that there are no motors or rockets allowed. The team must use the standard glider for the project. No more then $40 can be spent. A catapult can be used to launch the glider.
Development
Our first plan of attack is to get the plane to fly straight. To do this, we will use pennies and tape to weigh plane on certain sides to keep it level. We used pennies and tape because tape is light and pennies are easy to add and do not have much weight. We tried to increase the angle of attack by putting a penny on the back end, but it caused the plain to have to great of an agngle of attack. Instead, we simply bent the trailing end of the horizantal elevator down. We found that our plane started to fly up to much so we added two pennies to the front of the plane. This leveled out our plane. We have three different designs to hold the light bulb. The first is to cut out the shape of the light bulb into a piece of foam and rubber band it to the body right above the wings. The foam with be cut out at the bottom to fit to the body. Another design is to flip the piece of foam and have the light bulb secured between the piece of foam and the body of the plane. This will also be rubber banded down to the top of the glider. Finally, we will test having the light bulb placed securely between the cut out foam and the body of the plane on the bottom of the glider. Again, this will be rubber banded to the glider. In all the designs, the block of foam will be rounded off to help reduce drag of the glider. Another way we are going to reduce drag is to add winglets. This is going to be a piece of foam on each tip of the wing that is in the design of the rudder.
Solution
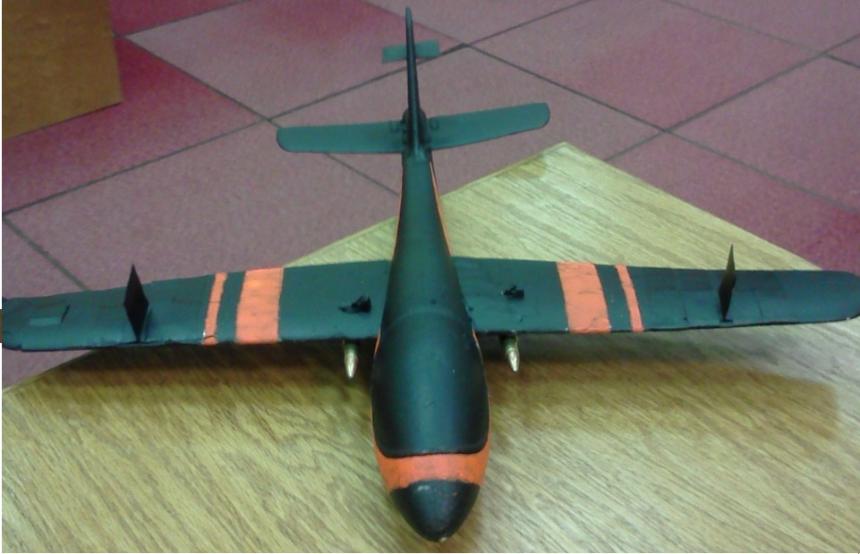
After trying to fly the glider with a block of foam, representing what would hold the light bulb, we found that the block created to much drag and the plane wouldn't fly very well no matter where we place the foam on the plane. This brought us back to the drawing board. Our next idea was to place the bulb under the cockpit. We had to cut out some of the foam and drill down a little to get the light bulb to fit. This method worked the best. The winglets worked well on the plane and we decided to use them. We used aluminum instead of foam because it was easier to use and easily available.
Results
Having the light bulb placed in the cockpit is the best way to secure it. The light bulb will be completely surrounded by foam which will help to protect the bulb no matter how the plane lands. Also, it doesn't create any drag which is extremely important. Less drag allows the plane to fly smoother and glide through the air better. If there is a block on the fuselage then the wind will hit that block and not flow down the plane smoothly. The block also creates less speed due to the increase in drag. Therefore, holding the payload in the cockpit is the best solution. The winglets helped to keep the glider fly staright.
Modifications Winglets Bullet Casings for Looks Fixing the Wing: Fixed by putting a piece of aluminum over the fractured part of the wing then wrap it in duct tape. The aluminum is to help strengthen the wing. Strengthen Rear: The hole holding the rear stabalizer started to crack so we had to wrap the cracked part with electrical tape. We used electrical tape because its smaller then duct tape and easier to handle. It is also thinner so the rear stabalizer will still fit. This is also why we didn't use any aluminum.
| Final Design It was easy to pick the final design. We used three pennies in the rear of the plane to help counter the wait of the payload in the front. The winglets helped to keep the glider stable when in flight. Holding the payload in the cockpit didn't affect having to add any foam onto the plane and didn't affect the drag. It was clear to us that if we could hold the payload and have it not affect the drag, that would be the design to go with. |